3D Printing Case Studies
Coming from an electronics product support background, one of the products I would routinely troubleshoot was desktop 3D printers. I gained most of my experience by pushing the limits of Hobbyking’s 3D printer lines and seeing how and where they would fail. With this knowledge I knew that even a consumer level 3D printer would bring value to Lyman-Morse’s design process.
Presentation Models
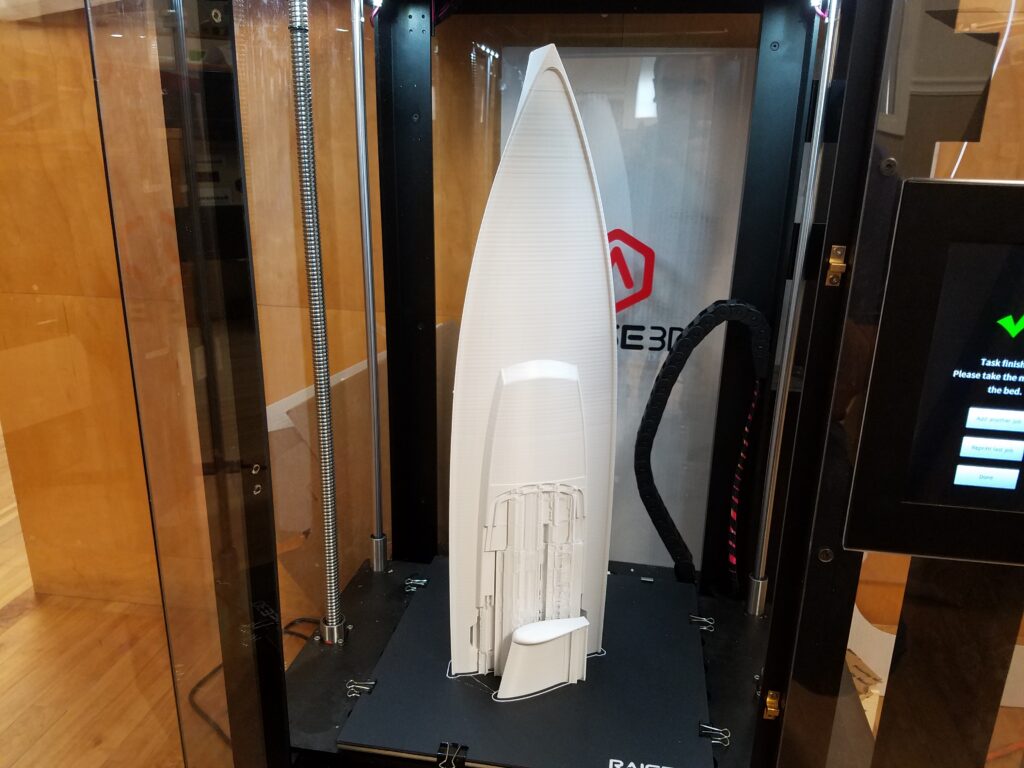
The primary function for implementing a 3D printer was initially as more of a novelty item to print presentation model half hulls for customer visits. The 3D printer allows quick and cost effective production of a hull model over cutting the hull form on a CNC machine.
Prototyping
Switch Plate
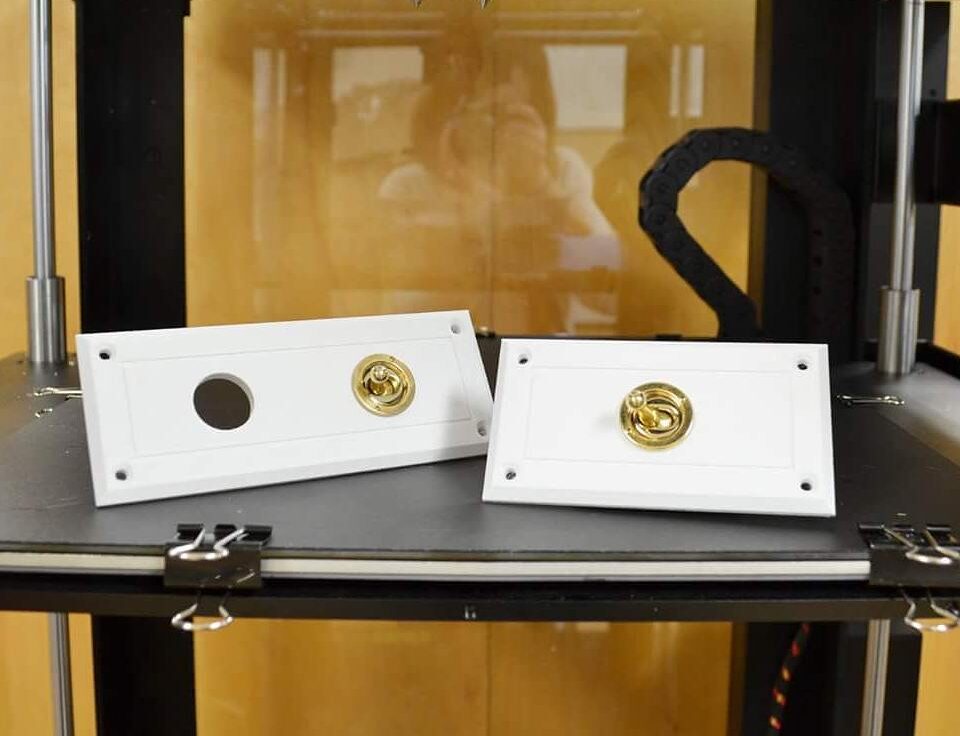
As more use cases presented themselves, I began using the 3D printer as much more of a functional, productive tool in the design process. In one particular case, the owner of Anna had a very specific light switch cover plate design in mind. She was having difficulty conveying the style and accent lines she was envisioning. This was further complicated by the fact that depicting the very shallow profiles of the cover plate was difficult in a 3D render. In order to expedite the process I designed multiple iterations of a discussed design and printed them as physical examples to be sent to the customer. I would then take the customers feedback and revise the design and print the next examples.
The 3D printer allowed me to go from revised design to tangible part in less than 2 hours. During one particular owner visit this rapid production allowed me to iterate 3 revisions of the design during the duration of their visit to land on the final design before the end of the day.
Producing the preliminary designs in any other manner would have cost hundreds, or thousands of dollars for a single example as opposed to ~$5 in 3D printing material and about 10 minutes of machine setup per revision.
Hawsehole
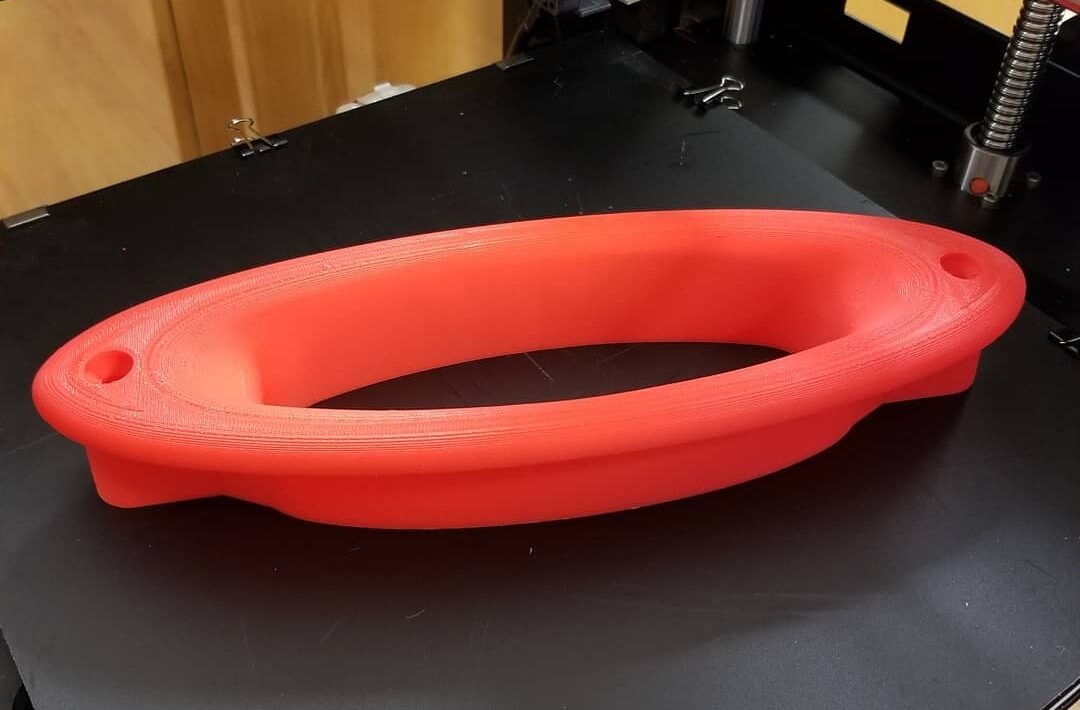
Prior to sending the files off to be cast in stainless steel, the size of custom hawseholes in the bulwark was called into question by myself and the project manager. After printing a full size prototype, it was discovered that while the design supplied by the Naval Architecture firm was aesthetically proportionate to the bulwark and big enough on paper, passing a mooring bridle through the opening proved difficult. The design was scaled up and slightly modified to maximize the opening limitations of the bulwark.
Functional Tooling
Router Jig
With always looking for better, faster, and cheaper ways to accomplish a task, producing functional tooling off the 3D printer was a natural progression. The custom hawse hardware was installed at 3 different locations along the length of the hull. At each location the tumblehome of the bulwark was different. Jigs for cutting the hawsehole would typically be made from a paper pattern and manually shaped to fit the angle of the hull. With an accurate hull and hawse model, creating the model for the tool was quick and 3D printing did not occupy a carpenter’s time, allowing them to remain productive on another task.
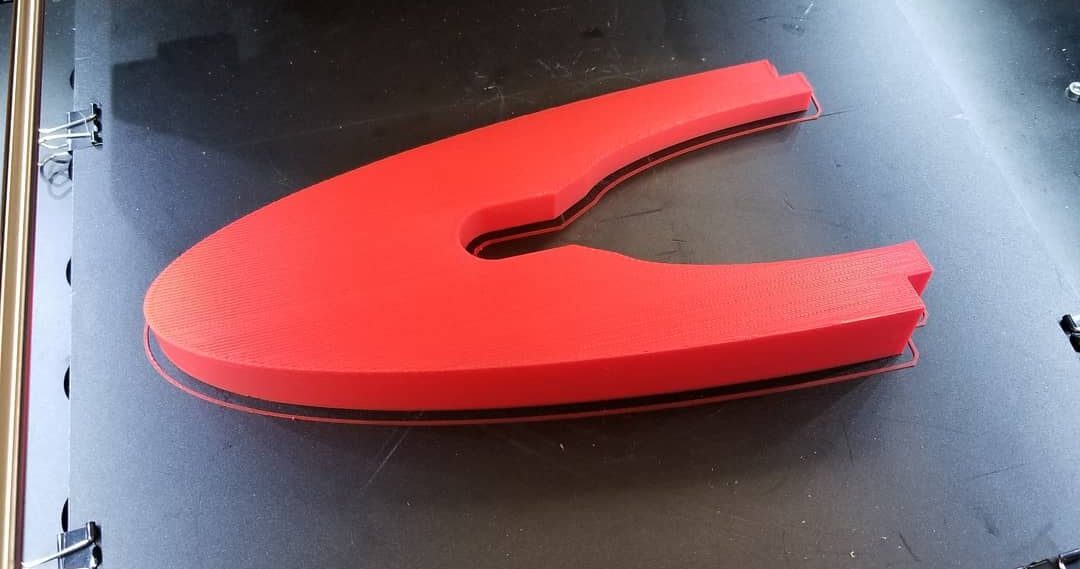
Rhapsody Mold Boss
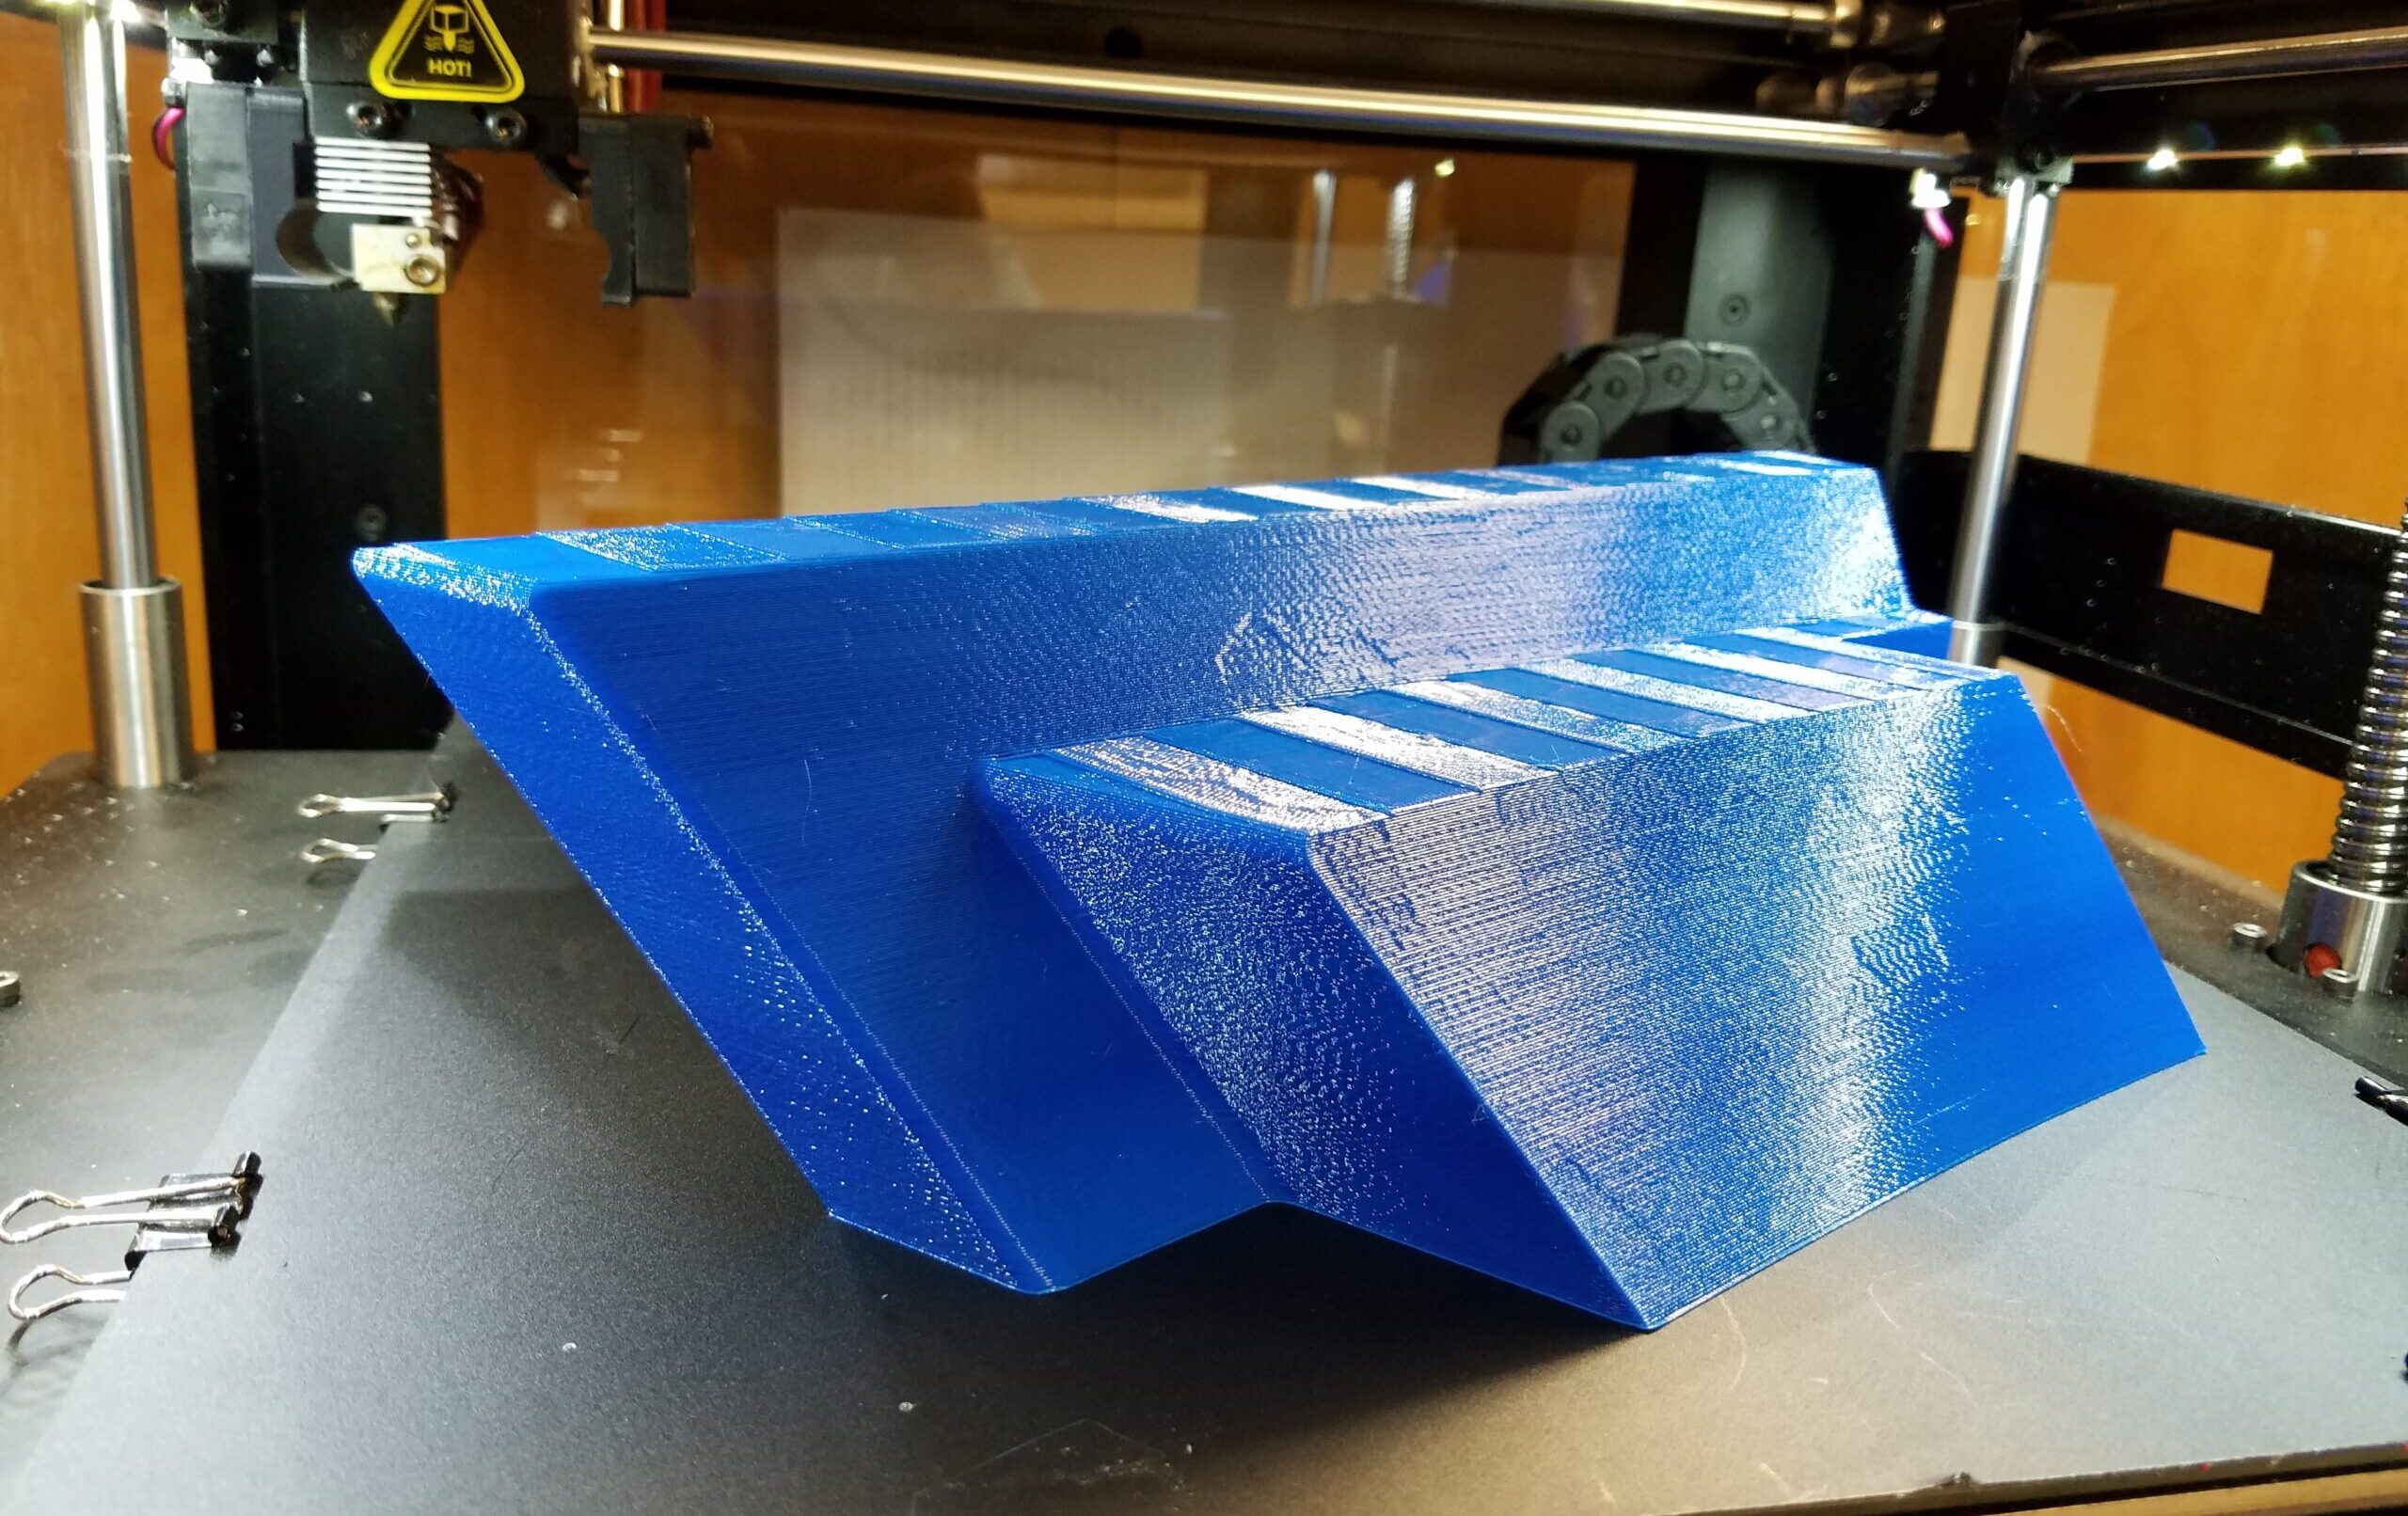
During the construction of the flybridge surround mold for Rhapsody, boss rings were needed to create the rebate for installing the windows. The front and side window boss ringers were CNC cut as the rings were being mounted to a flat mold surface. The corner windows, however, required a more complex shaped boss to properly match the shape that was sent to the window manufacturer. Due to the rolling angle change between the front and side surfaces of the surround, the top and bottom rebate of the corner windows formed a slight helical twist. In order to CNC this shape, each of the 4 parts would have required multiple fixtures and each part would have had to have been cut in at least 3 different orientations. The more economical (non 3D print) option would have been to task a carpenter with cutting the shape however this would have compromised accuracy of the shape and window fitment.
The 3D printed boss provided a perfectly accurate shape to the models that were sent to the window manufacturer and the formed glass fit with an even reveal around the entire perimeter of both corner windows.